Placing content on a table top in AR
Seeing Flow visualizations floating over a table top, particularly when shared with multiple users seeing the same content in the same place, is particularly useful for two use cases:
- Collaborative data meetings in AR
- Capturing AR videos
At this time, aligning the content in the room across various platforms has different implementations based on the device and version of Flow you are using. We'll document these one by one.
1 WebXR Meta Quest (formerly Oculus): Quest 2, Quest Pro, and Quest 3
While using the browser on Quest devices, after you get into Flow at a.flow.gl, navigate to a specific Flow, and click on "Enter AR", and you can look down and find the "Calibrate" button on the "look-down menu".
-> Select the Calibrate button.
"Simple mode" to set the position on the floor
First, we're going to learn to how to set the position for the floor pane of the space, and then we'll go back a second time to discuss how to set the height both automatically and manually.
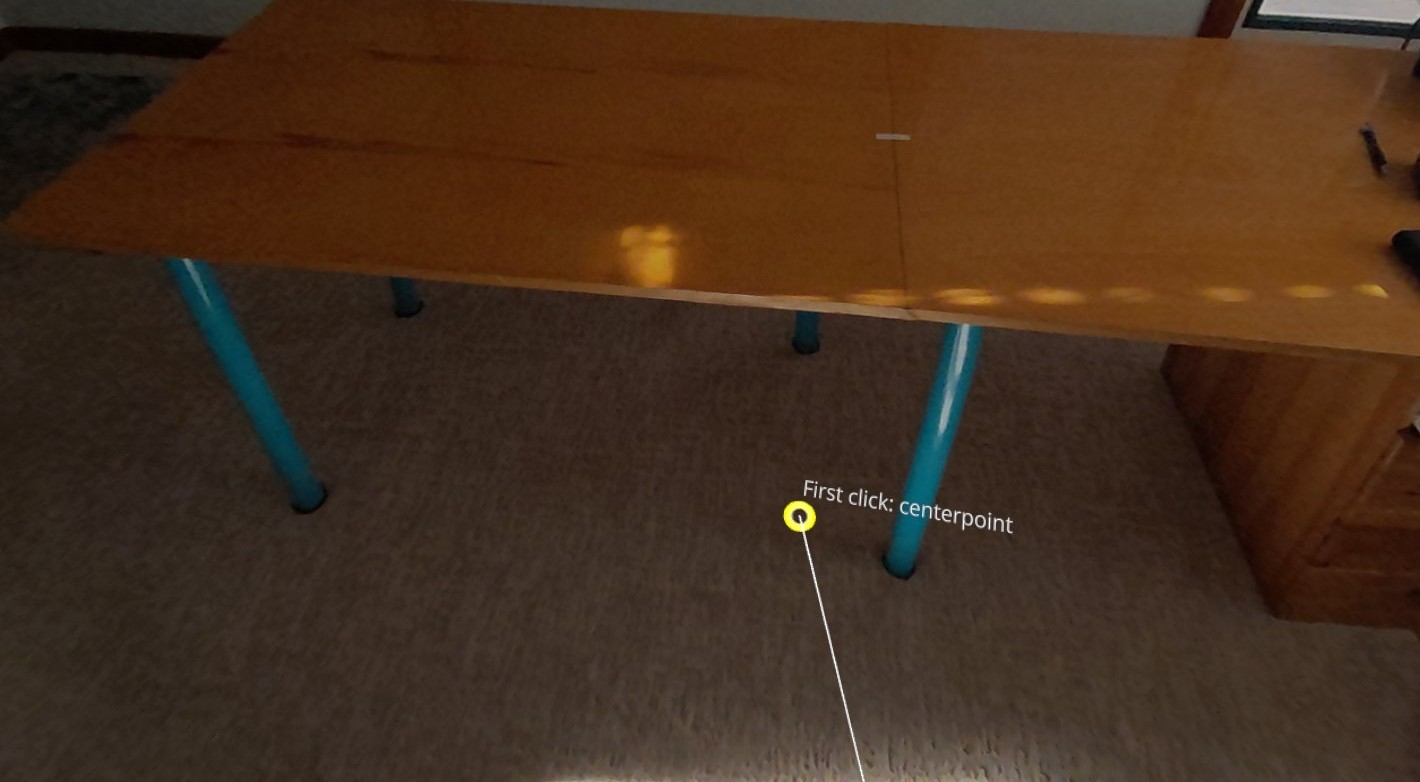
-> You'll see a way to set the content "origin" (center point of the visual space at XYZ or 0,0,0) via a circular cursor and a vertical line, labelled with the text "First click: centerpoint". This is a "simple" mode that only lets you set the position of the content relative to the floor.
NOTE: if the cursor doesn't appear to be on the floor. Go to your Oculus settings room calibration and reset the "floor" position as part of the operating system. Go to the operating system "settings" and select "Boundary."
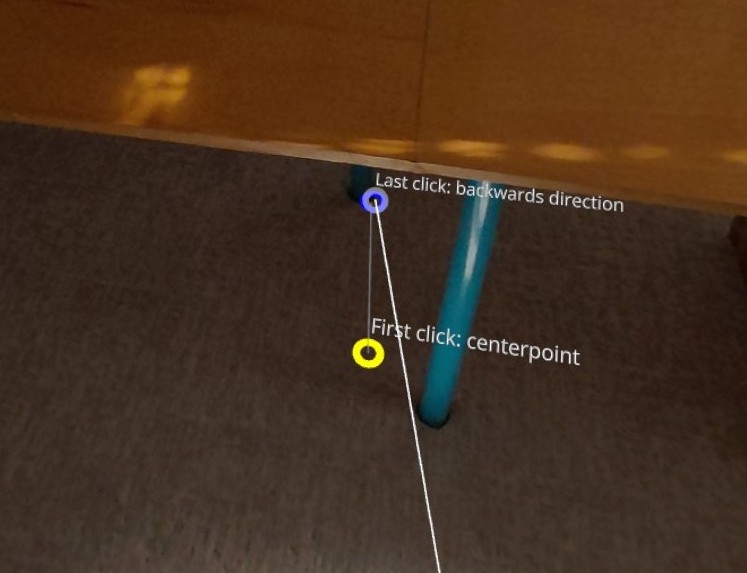
-> After the first click, select the "Last click: backwards direction". This click will indicate the orientation of the content, and it should be directly away or behind the first click. We recommend that the location of the "Last click" be somewhere around 1-2 feet behind the location of the "First click".
To have multiple users place the content in the same room, it is suggested that a piece of tape or other object be placed at both the first click and second click locations, and all users use these markers as the First click and Last click locations. All users can stand anywhere in the room as long as they click the markers in the same order as other users.
This method has been shown to accurately calibrate all users within a few inches or centimeters of each other. The accuracy of the calibration between users can be visually verified by looking in headset at the other users and seeing how close the origin of their laser pointer is to their real-world controller.
Set the height manually in the Flow Editor
Two methods can be used to correctly set the height. The first method, which is recommended, is to alter the "height" parameter in the Flow's settings with the Flow Editor. When editing the Flow, click the "three-line icon in the upper right of the screen (this is sometimes referred to as the "hamburger" icon). Then Select "Settings".
The settings for Quest headsets are determined by setting the two parameters shown at the the bottom of this screen shot.
Mobile AR center-point height offset: From floor X.X meters. This is set by default to 1.25 meters, which is just a bit above most tables. You can adjust this value and, based, on where the Swarm's height parameter has been placed, you can adjust to make the content appear the desired amount above the table.
Note: The "From table" option shown in the screenshot is in the process of being removed from the UI.
"Advanced mode" to Set the height in real time.
Whether or not the Flow height is set in the Editor, you can alter the setting via the "calibrate" button when you are in AR in headset:
-> Select the calibrate button like before
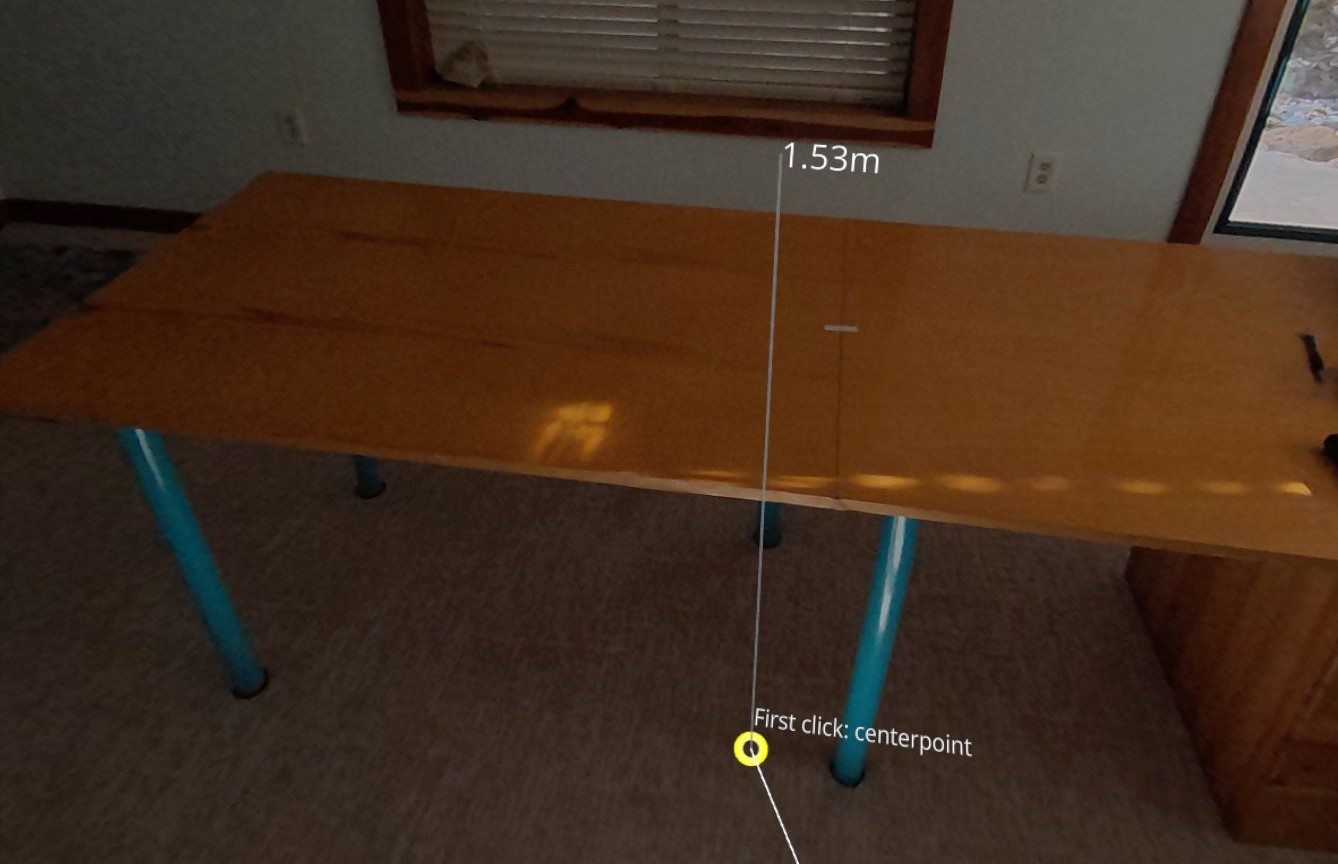
-> This time, also press the "B" button on the right controller. Now you will see an additional 'height' numeric value appearing above a vertical line that runs from your right controller to the floor of the space. This height is changed by raising or lowering your controller. When the height looks like it is where you want it in relation to the table, note the height that is displayed, and press the trigger to lock in that height setting. Then make sure to tell your multiuser colleagues to set their height at the same amount using the same technique (using the calibrate button and the "B" button on the right controller.)
-> Set the "Last click: backwards direction" with another click, similar as described earlier.
2 Native Oculus App
*bm1: After we agree on the text for the WebXR, I'll go back and make the wording for this section consistent with our agree-upon wording.
-> Select the calibrate button on the 'look-down menu'
-> You'll see a way to set the content "origin" (center point of the visual space at XYZ or 0,0,0) via a circular cursor and a vertical line, labelled with the text "First click: centerpoint". You will see an additional 'height' numeric value appearing above the vertical line. This height is changed by raising or lowering your controller. When the height looks like it is where you want it in relation to the table, tell your multiuser colleagues to use the same height, and press the trigger to lock it in.
-> After the first click, select the "Last click: backwards direction". This click will indicate the orientation of the content, and it should be directly away or behind the first click.
To have multiple users place the content in the same room, it is suggested that a piece of tape or other object be placed at both the first click and second click locations, and all users use the market to know where to click.
This method has been shown to place all users within a few inches or centimeters of each other, which can be verified by looking at the other users and seeing how close the origin of their laser pointer is to their real-world controller.
3 Web-based Mobile Phone AR
***


